We brought one of our favorite interactive activations to life: a custom hat bar with on-site heat pressing for around 400 people. And honestly? It delivered.
From creativity to connection (and a whole lot of hats), here’s a behind-the-scenes look at how we pulled it off, the logistics that mattered most, and what we’d adjust next time.
The Setup: Keeping It Simple on Purpose
When you’re pressing hats live, simplicity is everything.
We collaborated with our apparel provider to donate the hats, which made it easier to pull off a high-impact activation without overspending.
To keep things moving onsite, we pre-branded every hat ahead of time with:
The event name
Our logo (since we supplied the hats)
We also kept supplies affordable by ordering inexpensive patches and a heat press on Amazon.
For shipping, we learned quickly: ship supplies in a hard case to avoid destroying boxes and equipment after a couple trips.
Lastly, booth flow matters. Having a team member ready to explain the process as people walked up was imperative for keeping lines short and the experience smooth.
Patch Selection: Display Matters
One of the biggest wins was how we displayed the patches.
Instead of tossing them into bins, we laid them out across the table so everything was visible at once. As people selected patches, we replenished the table in small batches so it never felt overwhelming. This made it:
Easier to browse
Faster to choose
More visually engaging
We intended to limit selections to two patches per person. That plan lasted… briefly. Turns out people get genuinely excited when they’re designing something custom. And because the experience was the most valuable part, we gave everyone full creative freedom and let them run wild.
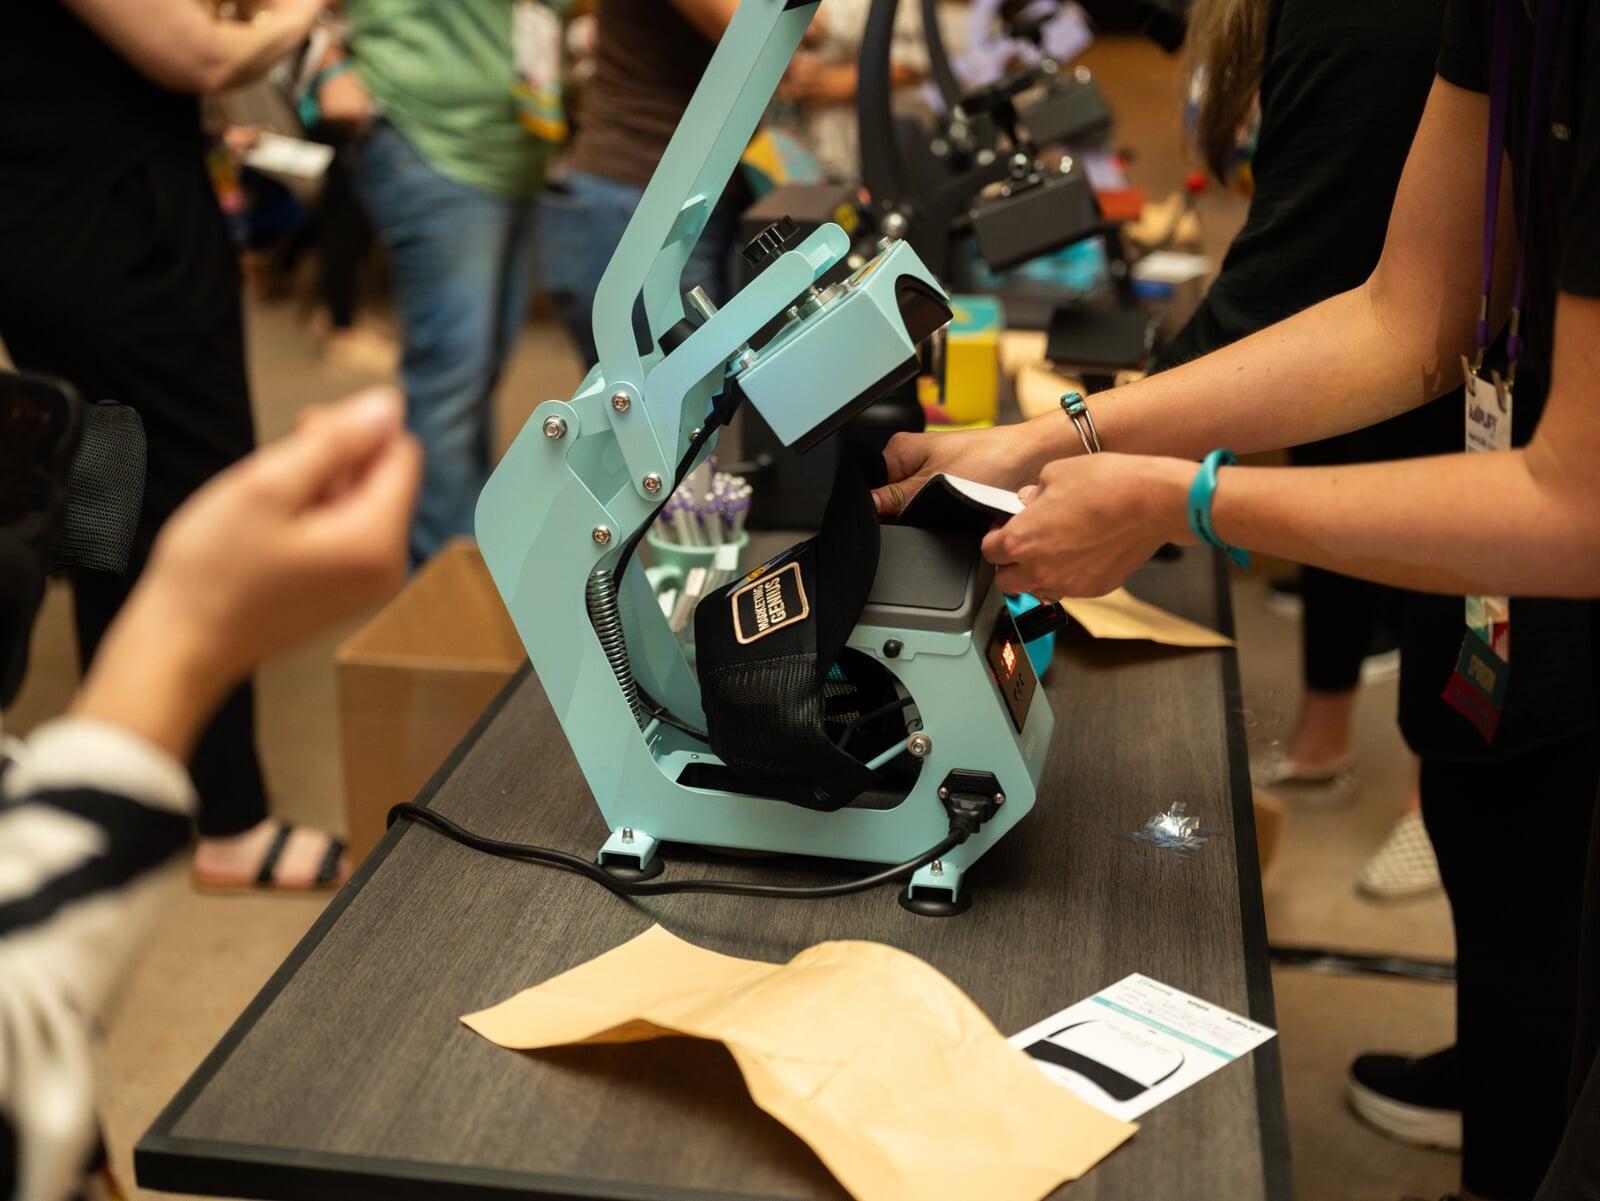
Pressing Process: What Actually Worked
We were pressing around 22 hats per press per hour, which felt like a great rhythm given the level of customization. If participants were limited to decorating only the front of the cap, the process would likely take much less time.
Here’s the process that kept things moving:
Patches were pressed on both the bill and the front of the cap
Tape was pre-cut and ready to go for every patch (non-negotiable for speed)
Press with tape for 20 seconds
Remove tape, then press again
Do a quick quality check before handing it off
Some patches are more stubborn than others, so checking adhesion saved us from problems later.
The Pickup System: Helpful, But Not Ideal
We created a tag system for attendees who didn’t have time to wait. Hats were tagged, pressed later, and available for pickup the next day. We also organized finished hats alphabetically to make pickup smoother.
In theory, great idea. In practice, not so much.
It added a couple of extra hours of work and required tracking people down to make sure they actually picked up their hats. Next time, we’d strongly recommend pressing everything live if possible. If not, set up the press in your booth the next day for people who didn’t get a chance to make one.
Final Takeaway: 100% Worth It
Despite a few logistical lessons, the hat bar was an amazing experience.
It created real, natural moments of connection with attendees. People slowed down, chatted, asked questions, and walked away with something they helped design themselves. That kind of engagement is hard to beat.
Interactive activations like this aren’t just about the product. They’re about creating moments, conversations, and memories. And this one delivered on all fronts.
That’s how the best ideas get even better.